Managing email storage can quickly become a hassle, especially if your mailbox is flooded with spam, newsletters, or outdated emails. If you’re wondering how to permanently remove all emails in cPanel, you’re not alone. Whether you’re a business owner, developer, or a hosting user, regularly cleaning up your email storage can dramatically improve your server’s performance and free up valuable space on your hosting account.
This comprehensive guide will walk you through how to permanently remove all emails in cPanel, step by step, using actual screenshots from the cPanel interface. You’ll not only learn to delete emails from your inbox but also from other folders like Sent, Trash, and Spam. This ensures a complete cleanup — not just a temporary fix. This tutorial is ideal for HostraGo users and anyone managing their email through a cPanel hosting environment.
Why You Might Need to Delete All Emails in cPanel
- Reduce storage usage and avoid quota limits
- Get rid of outdated, spam, or irrelevant emails
- Prevent mailbox errors or delivery failures
- Increase webmail loading speed
- Keep your hosting environment clean and organized
Step-by-Step: How to Permanently Remove All Emails in cPanel
Step 1: Login to cPanel
Log in to your cPanel dashboard using your hosting credentials. If you’re using HostraGo, simply sign in from your Client Portal.
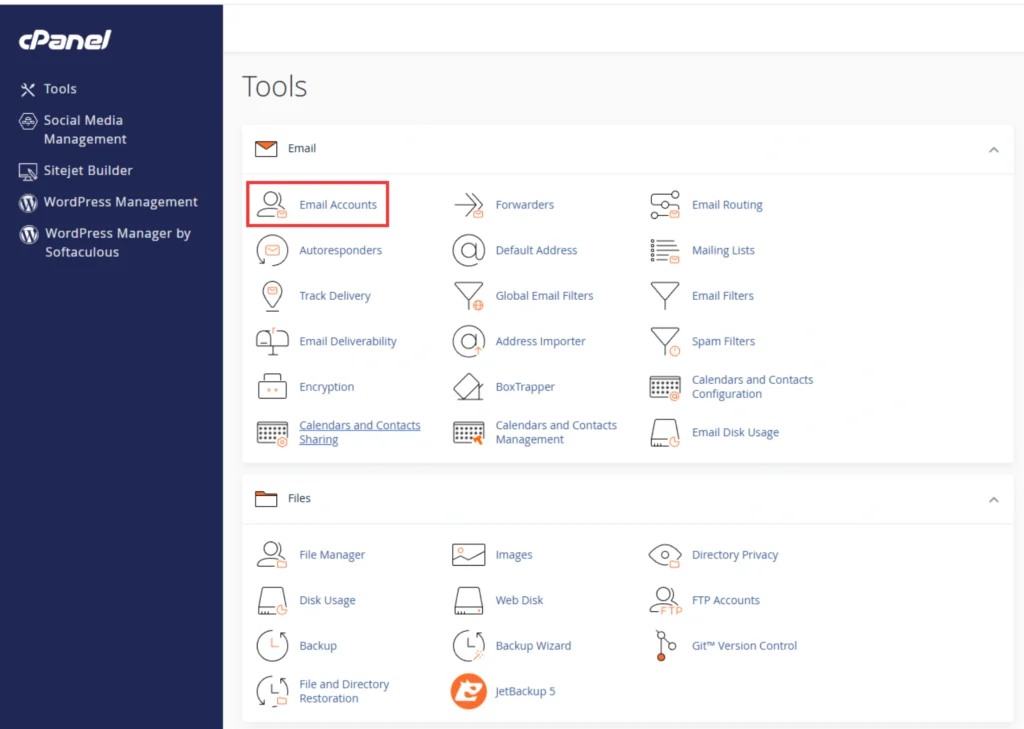
Step 2: Access the “Email Accounts” Section
Once inside your cPanel, scroll to the Email section and click on “Email Accounts”.
Step 3: Locate and Open the Email Account
From the list of email accounts, locate the one you wish to clean. Click the “Check Email” button next to it.

Step 4: Open Webmail Interface
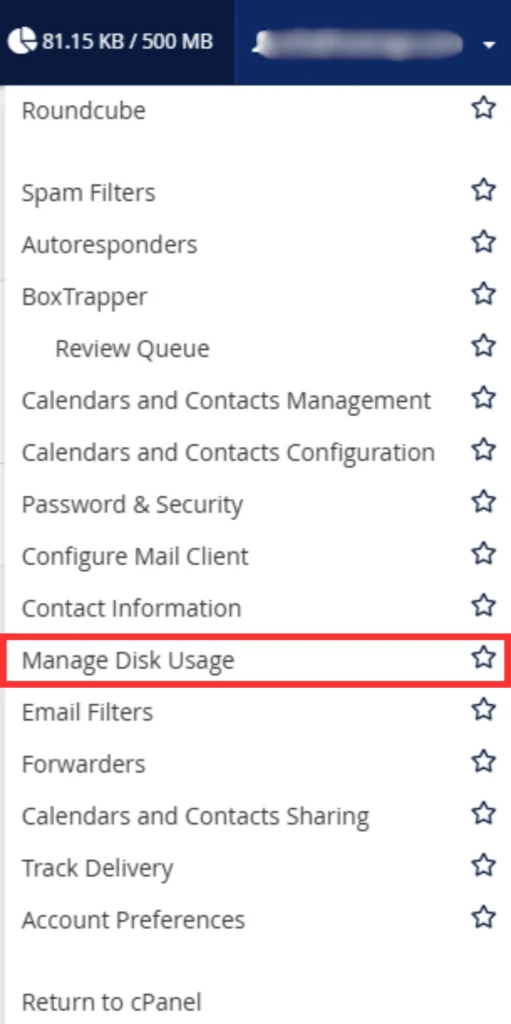
This will redirect you to the webmail login screen. Select your preferred webmail client — most users opt for Roundcube due to its simple and fast interface.
Step 5: Select & Delete All Emails
In Roundcube:
- Go to your Inbox (or any folder like Spam, Sent, etc.)
- Use the “Select All” checkbox on top
- Click the Delete icon to move all selected messages to the Trash folder
Repeat this for each folder where you want to delete emails.

Step 6: Empty the Trash — Permanently
Deleting emails only moves them to the Trash. To permanently remove all emails in cPanel, you must:
- Open the Trash folder
- Use Select All
- Click on Delete Permanently
This step ensures that your emails are fully wiped from your server and do not consume storage.
Bonus Tip: Automate Deletion Using cPanel Filters
To save time in the future, you can set up email filters or cron jobs in cPanel to automatically delete emails after a certain period (e.g., delete emails older than 30 days). This is especially useful for high-traffic inboxes like support@yourdomain.com.
Learn More with HostraGo knowledge base
For more tutorials, explore our HostraGo Knowledge Base, where we cover essential topics such as:
- ✅ How to Install WordPress in cPanel
- ✅ How to Configure Custom MIME Type in cPanel
- ✅ How to Change the Timezone in Webmail
- ✅ How to Create a HostraGo Account
These tutorials are designed to help you get the most out of your hosting plan and simplify your web management experience.
Looking for a fast and secure hosting solution? Visit our Home Page to explore affordable and reliable web hosting services.
Final Thoughts
Email clutter can slow down your hosting environment and make inbox management a nightmare. Thankfully, once you know How to Permanently Remove All Emails in cPanel, you’re in full control of your email space.
Whether you’re trying to fix email quota issues or simply starting fresh, the steps above will guide you through the cleanup. And if you’re using HostraGo as your hosting provider, you always have access to our expert support team and detailed guides to make your hosting journey easier.
Need Help?
Have questions or need assistance? Our friendly support team at HostraGo is available 24/7 to help you.