Website visitors can land on error pages for many reasons — a mistyped URL, removed content, or internal misconfigurations. These default error pages, though functional, often look bland and confusing. For brands and businesses that care about user experience, knowing how to create custom error page in cPanel is essential. It allows you to replace generic error messages with helpful, branded, and engaging error pages.
In this guide, you’ll learn step-by-step how to create custom error page in cPanel, so your visitors stay engaged even when something goes wrong. You’ll be able to create a custom 404, 403, 500, or any other error page right from your cPanel interface, without needing to edit .htaccess manually. This is a smart way to improve UX, reduce bounce rates, and maintain a professional image across your entire website.
👉 Related Tutorial: How to Access Webmail Through cPanel
What Is a Custom Error Page?
A custom error page is a user-defined HTML or PHP page that replaces your hosting provider’s default error message. Instead of showing a dull “404 Not Found,” you can display a well-designed page that:
- Matches your site’s branding
- Provides helpful navigation links
- Guides users back to working content
- Displays a friendly message
These small improvements can make a big difference in how your site is perceived.

How to Create Custom Error Page in cPanel
Here’s how you can set up custom error pages in just a few minutes using your cPanel interface.
1. Log in to Your cPanel
- Enter your username and password to access the dashboard
- Visit your cPanel login URL (usually
yourdomain.com/cpanel)
2. Navigate to the Error Pages Section
- Inside the cPanel dashboard, scroll down to the Advanced section
- Click on Error Pages

3. Choose the Domain
If you manage multiple domains, select the one for which you want to create a custom error page.
4. Select the Error Code
Click on the error code (e.g., 404) that you want to customize.
You’ll be directed to an editor where you can input custom HTML code. You can use this space to write your own message, style the page with CSS, and even add links or branding elements.

5.Add Your Custom Error Message
Example HTML you can use:
<!DOCTYPE html>
<html lang="en">
<head>
  <meta charset="UTF-8">
  <title>404 - Page Not Found</title>
  <style>
    body { text-align: center; padding: 100px; font-family: Arial, sans-serif; }
    h1 { font-size: 60px; color: #ff4c4c; }
    p { font-size: 20px; }
    a { color: #007BFF; text-decoration: none; }
  </style>
</head>
<body>
  <h1>404</h1>
  <p>Oops! That page doesn't exist.</p>
  <p><a href="https://www.hostrago.com">Return to Homepage</a></p>
</body>
</html>
6. Test the Page
Now, try visiting a non-existent URL on your site (like yourdomain.com/fakepage).
Your newly created custom error page should appear instead of the default server message.
Pro Tips
- You can create error pages for all common errors, not just 404
- Use your site logo and menu in error pages for consistency
- Keep it light and mobile-friendly
- Add internal links (e.g., Home, Blog, Contact Us) to guide users
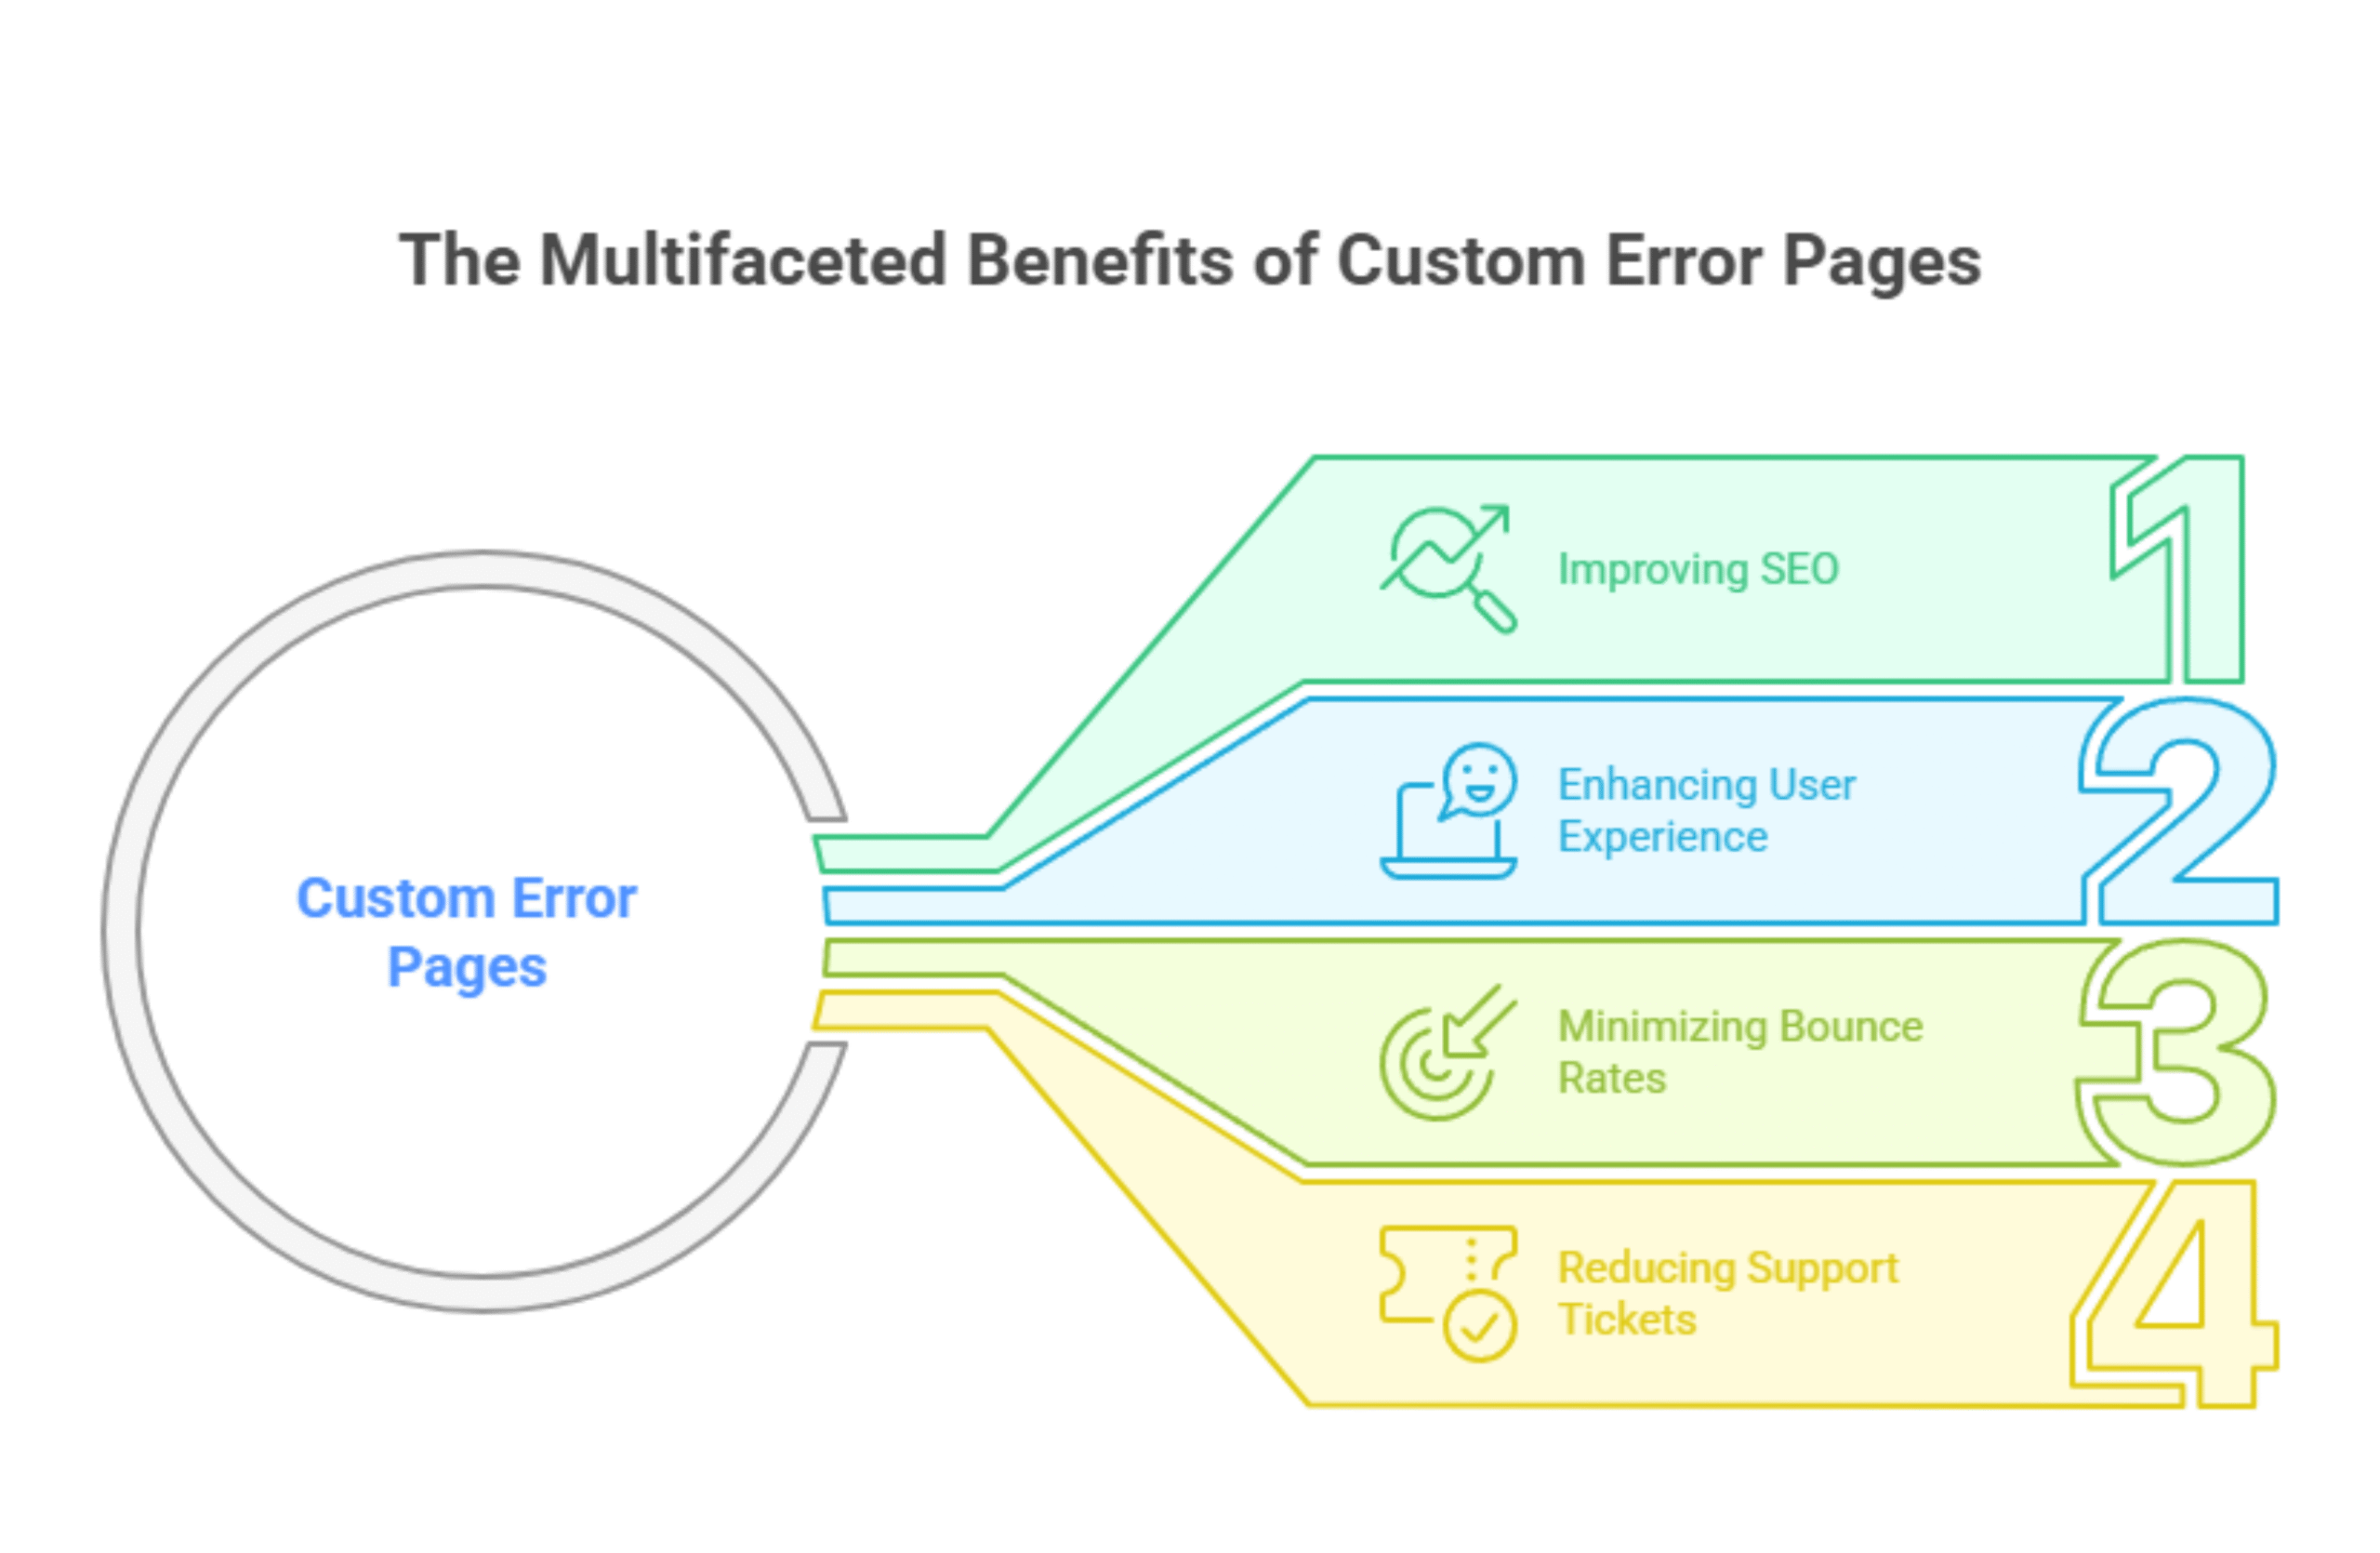
Why Custom Error Pages Matter
Setting up custom error pages isn’t just about aesthetics — it plays a key role in:
Final Words
By following this guide on how to create custom error page in cPanel, you can elevate your website’s user experience and professionalism. Visitors will appreciate being guided with clear messages, rather than left confused on a blank error screen.
If you host your website with HostraGo, these tools are already available in your cPanel dashboard, making the process smooth and efficient.