Managing server-side scripting can be a smooth process if you’re familiar with how to control modules and extensions. If you’re working on a Linux-based server and your application relies on Perl, it’s essential to know How to Install a Perl Module in cPanel without relying on root-level SSH access. Whether you’re a developer automating server tasks or a website owner using Perl-based scripts, installing the right module is crucial.
At HostraGo, we understand that not everyone is a sysadmin. That’s why this guide simplifies everything. We’ll walk you through the step-by-step process of How to Install a Perl Module in cPanel, so you can enhance your Perl environment with just a few clicks — no command-line required.
What is a Perl Module?
A Perl module is a reusable package that extends Perl’s core functionality. These modules are vital for running various scripts — whether for database access, file handling, or web automation. In cPanel, you can manage these modules directly through the “Perl Modules” interface, allowing easier installation from CPAN (Comprehensive Perl Archive Network) without SSH access.
If you’re using a hosting provider like HostraGo that offers fully managed cPanel hosting, you already have the tools needed to install Perl modules via GUI easily.
Prerequisites
Before we begin, make sure:
- Your hosting account includes cPanel access (All HostraGo hosting plans include this).
- Perl is pre-installed on your server (standard on Linux hosting).
- Your website or application requires Perl support.
Steps to How to Install a Perl Module in cPanel
Follow these easy steps to install a Perl module:
1. Log in to Your cPanel Account
Enter your cPanel credentials.
Open your browser and go to yourdomain.com/cpanel
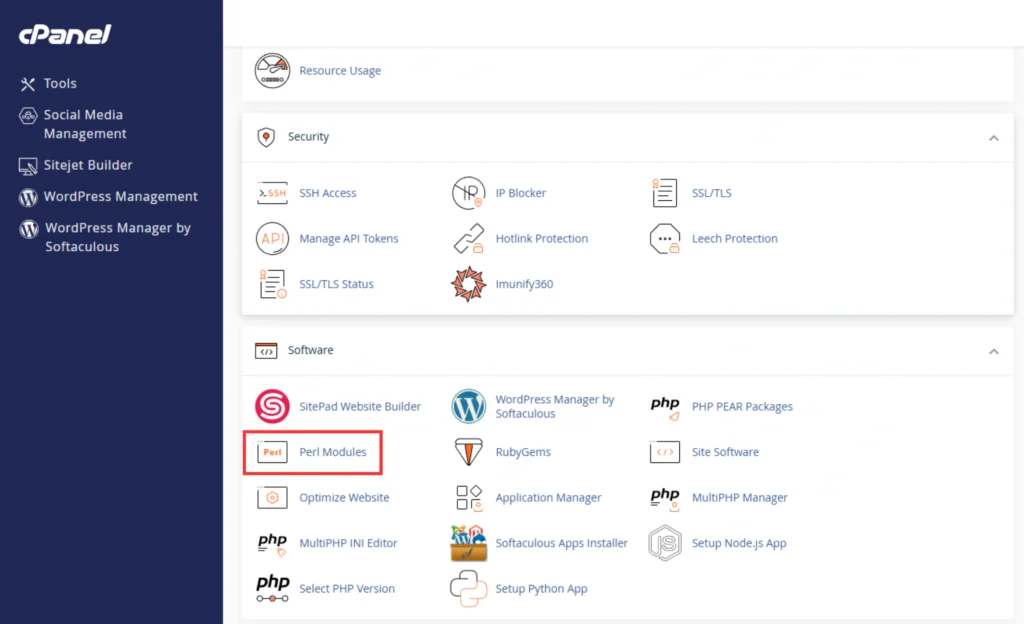
2. Locate the Perl Modules Interface
- Inside the Software section, click on “Perl Modules.”
This will open the Perl module manager in cPanel.
3. click on the Show Available Module button.
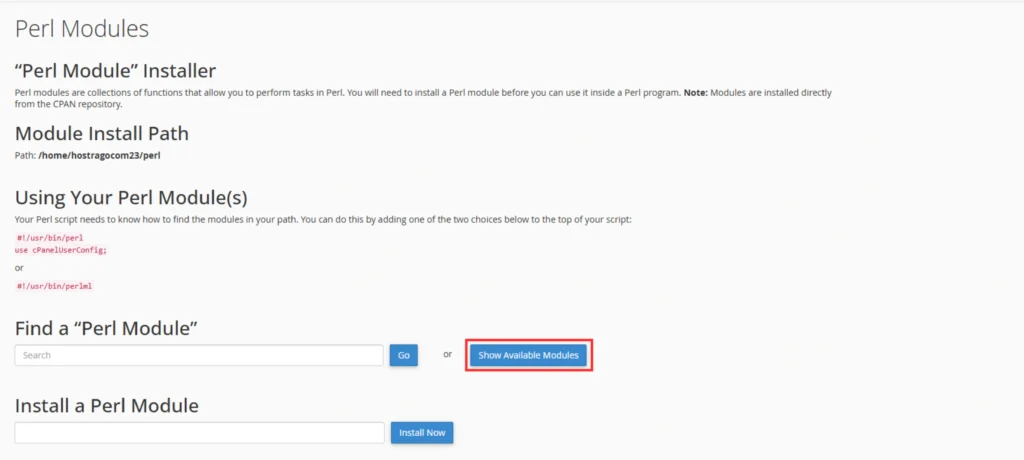
4. Install the Module
- From the search results, locate the desired module.
- Click the “Install” link beside it.

5. It will start the installation process after clicking on the install.


6. Verify Installation
- Scroll down to the “Installed Perl Module(s)” section.
- Your installed module will appear in the list if the process was successful.

Why Use Perl Modules?
- Reduce script redundancy by reusing code.
- Integrate with APIs and web scraping tools.
- Enable advanced database support.
- Improve overall script performance.
Troubleshooting Common Errors
- Module Not Found: Double-check spelling or try the module’s full name (e.g.,
LWP::Simple). - Install Fails: Contact your hosting provider. At HostraGo, our 24/7 support team is always ready to assist.
- Permission Denied: You may be on a restricted shared plan. Consider upgrading to a VPS Hosting Plan for more control.
Final Thoughts
Learning How to Install a Perl Module in cPanel helps streamline your development process. Whether you’re managing a complex automation script or running a legacy web application, cPanel’s Perl Module interface is a beginner-friendly, efficient way to get the tools you need.
Need help configuring your hosting environment for Perl? HostraGo offers tailored solutions, from affordable shared hosting to robust VPS plans — all with expert support.