

If you manage a web hosting business or provide server access to clients, enabling or disabling demo mode in WHM can be quite helpful. Enable/Disable Demo Mode allows you to grant restricted access to a cPanel account, perfect for showcasing features without giving full control. Whether you’re offering a trial experience or a secured demonstration, WHM makes it easy to enable or disable demo mode for any account.
In this guide, we will walk you through step-by-step instructions on how to Enable/Disable Demo Mode for any account from WHM. This method is beneficial for hosting providers like us at HostraGo who want to provide a preview of cPanel features without exposing sensitive data or risking unauthorized changes.
What is Demo Mode in WHM?
Demo mode in WHM (Web Host Manager) is a feature that lets you create a cPanel account with restricted access. When demo mode is enabled for an account, the user can explore the cPanel interface but won’t be able to make actual changes like uploading files, modifying configurations, or accessing emails.
This is especially useful for:
- Hosting resellers who want to showcase the cPanel dashboard to potential clients.
- Admins who want to give their team a hands-on experience without risking live data.
- Educators or trainers demonstrating cPanel functionalities.
Benefits of Enable/Disable Demo Mode in WHM
- Secure Demonstration: Prevents data modifications while offering a full UI experience.
- No Risk of Misuse: Users cannot perform sensitive operations.
- Ideal for Sales & Training: Show potential customers or staff the interface safely.
- Easy to Enable/Disable: Manage access in just a few clicks via WHM.
How to Enable Demo Mode for a cPanel Account in WHM
Follow these simple steps to enable demo mode for a specific cPanel account using WHM:
Follow these simple steps to enable demo mode for a specific cPanel account using WHM:
- Log in to WHM:
Access your WHM dashboard using root credentials. - Navigate to ‘Modify an Account’:
On the left sidebar, type “Modify an Account” in the search bar and click on it under the “Account Functions” section.

- Select the Account:
You’ll see a list of all cPanel accounts. Choose the account for which you want to enable demo mode and click on the ‘Modify’ button. - Enable Demo Mode:
Scroll down to find the ‘Demo Mode’ option. Check the box next to ‘Make the account a demo account’.

- Save Changes:
Scroll down and click on ‘Save’ to apply the changes.

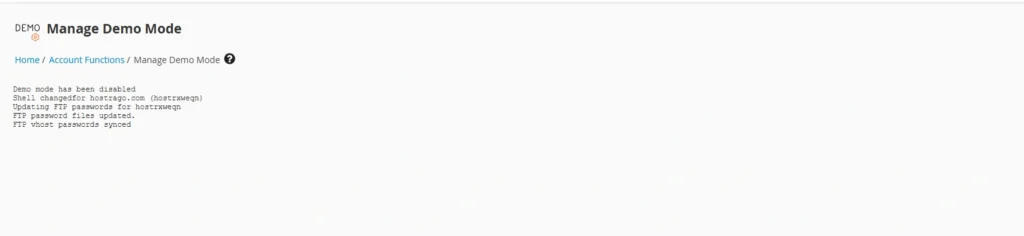
How to Disable Demo Mode for a cPanel Account in WHM
To disable demo mode, simply repeat the steps above but uncheck the ‘Demo Mode’ option:
- Go to ‘Modify an Account’ in WHM.
- Select the account currently set to demo mode.
- Uncheck ‘Make the account a demo account’.

- Click on ‘Save’.
Conclusion
Enabling or disabling demo mode in WHM is a simple yet powerful tool for hosting providers, educators, or sales teams. With just a few clicks, you can showcase the capabilities of cPanel without compromising security. By following the above steps, you can efficiently Enable/Disable Demo Mode on any account via WHM.
If you’re managing multiple hosting clients or providing white-label solutions, WHM’s demo mode is a practical feature to integrate into your service offerings.
At HostraGo, we always guide our customers on efficient server and hosting account management. You can also explore our Knowledge Base for more WHM and cPanel tutorials to streamline your hosting services.