When managing multiple cPanel accounts, having control over which features each user can access is essential. That’s where Feature Lists in WHM come in. If you’re a hosting provider or server administrator using WHM/cPanel, you must know how to assign feature list to specific accounts for better access control and resource management.
In this guide by Hostrago, we’ll walk you through the complete process of how to assign a feature list from WHM to a cPanel account. Whether you’re customizing hosting plans or limiting features for specific users, this step-by-step tutorial is everything you need. By the end, you’ll understand exactly how the “assign feature list” function in WHM can help streamline your hosting services.
What is a Feature List in WHM?
A Feature List in WHM (Web Host Manager) allows server admins to control the tools and options available to cPanel users. These lists can be customized to show or hide features such as:
- File Manager
- Backup Wizard
- Email Accounts
- Cron Jobs
- SSL/TLS Management and much more.
Why Assign Feature List From WHM to cPanel?
Assigning a custom feature list gives you total flexibility over:
- Plan Customization: Create unique hosting plans (like Basic, Business, or Pro) with specific tools.
- Security: Limit access to critical features for beginner users.
- User Experience: Reduce clutter by hiding unnecessary tools.
- Resource Management: Disable heavy or unused features for lightweight plans.
If you’re offering web hosting services via Hostrago’s Reseller Hosting, using Feature Lists is a great way to create tailored experiences for different clients.
Step-by-Step Guide: Assign Feature List from WHM to cPanel
Here’s how you can assign a feature list from your WHM dashboard to a cPanel account:
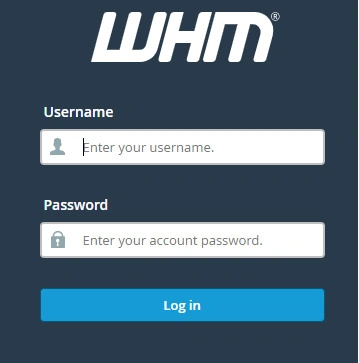
Step 1: Log in to WHM
- Enter your WHM root credentials.
Step 2: Create or Edit a Feature List
- In the left-hand WHM menu, search for “Feature Manager”.
- Click on Feature Manager.
- Under “Add a New Feature List”, enter a name (e.g.,
basic_plan), and click Add Feature List. - Select the features you want to enable or disable by checking/unchecking the boxes.
- Click Save at the bottom of the list.
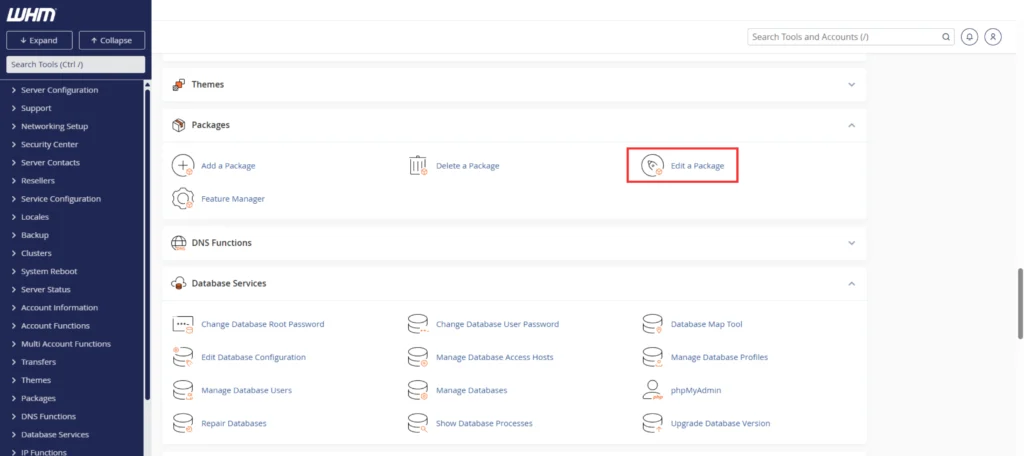
Step 3: Assign the Package to a cPanel Account
If you’re creating a new cPanel account or modifying an existing one:
- While creating: Select the package with the assigned feature list.
- While editing: Navigate to List Accounts > Modify Account, and choose the appropriate package.
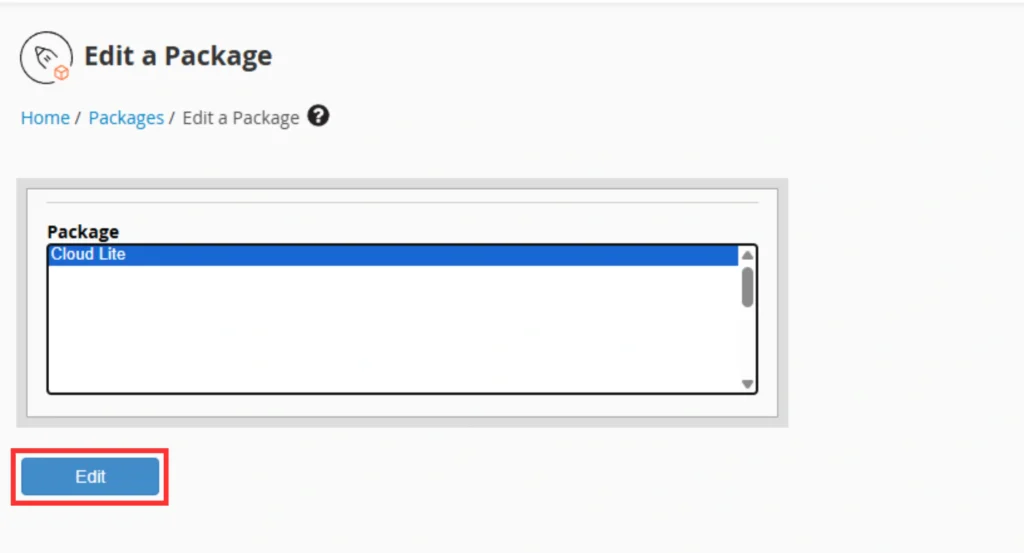
Step 4: Assign Feature List to a Package
- Go back to the WHM home screen.
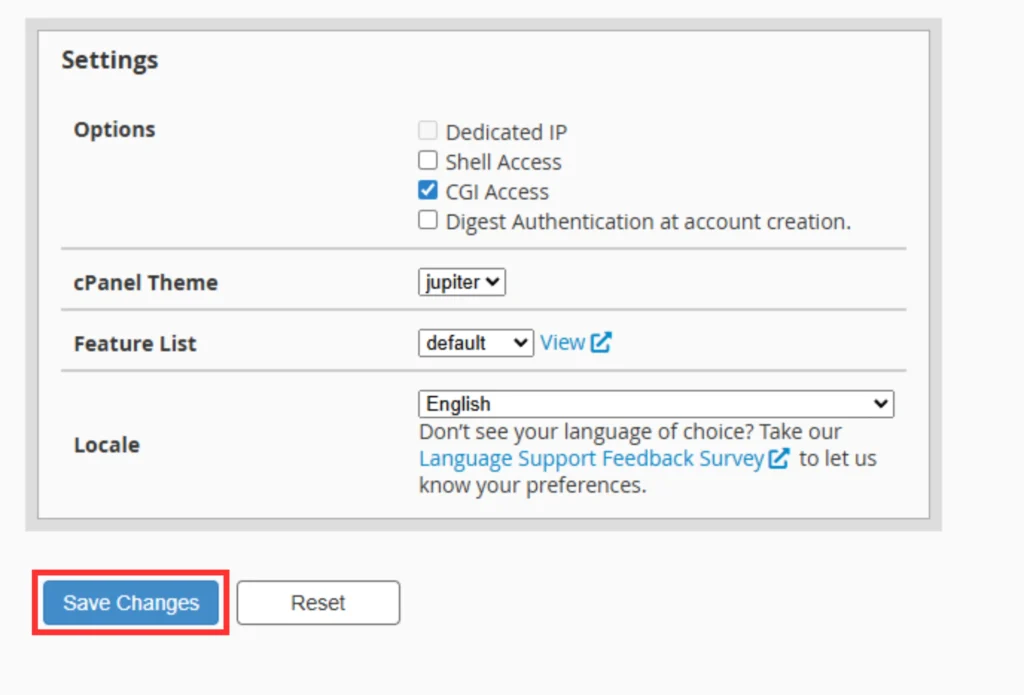
- Search for and click on “Packages” > “Edit a Package”.
- Choose the package you want to assign the feature list to (e.g.,
Startup Hosting). - Under the Feature List dropdown, select the newly created feature list.
- Click Save Changes.
How to Verify Assigned Feature List
To verify if your feature list is correctly applied:
- Login to the relevant cPanel account.
- Review the available features on the cPanel dashboard.
- If the feature list was correctly applied, only the selected tools should appear.
Final Thoughts
Understanding how to assign feature list from WHM to cPanel is key for any server admin or hosting provider. It allows you to customize the user experience, control resource usage, and enhance overall server security. With this flexibility, you can offer scalable and tailored plans to your customers – whether you’re managing a single VPS or running a large-scale reseller business.
At Hostrago, we ensure that our clients have complete control over their hosting environment. Explore our Cloud Hosting to take advantage of WHM/cPanel features and empower your hosting business today!
Need More Help?
If you need further assistance on WHM, cPanel, or Feature List management, feel free to contact our 24/7 support team or explore our full Knowledge Base.
